

Horizontal borders are handy things in Word documents to define out sections of your work. You can underline headers or otherwise break things apart to make things easier to read. How do you add borders in Word, and how can you do it quicker with automatically-created dividers? Here’s how.
First off, there’s the border button on the main menu. You can highlight the text you’re looking at adding a border to and select from one of the pre-set options (bottom, top, left, right, etc…). If you want to go advanced (different thicknesses, colors, etc…), click on the “Borders and Shading…” menu.
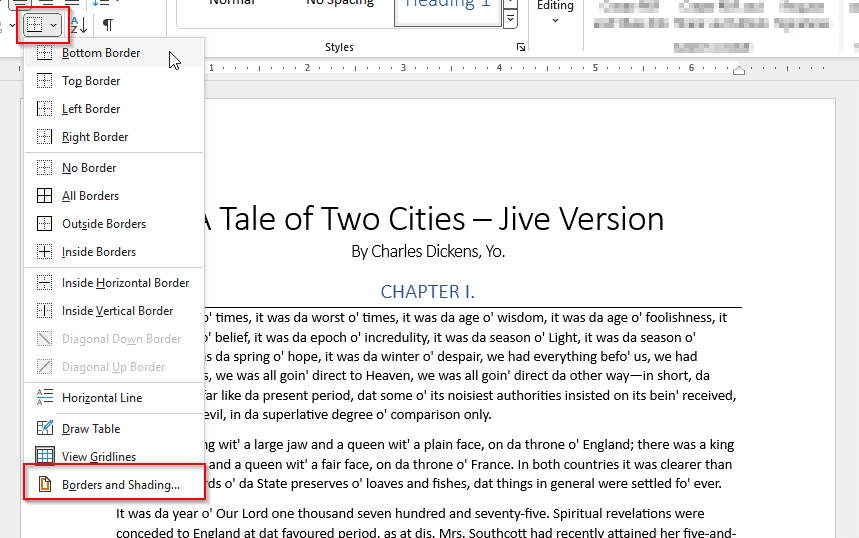
However, that’s quite a few clicks. There is actually a quicker way to add variety of borders/dividers to the text you’re working without clicking away to the menu.
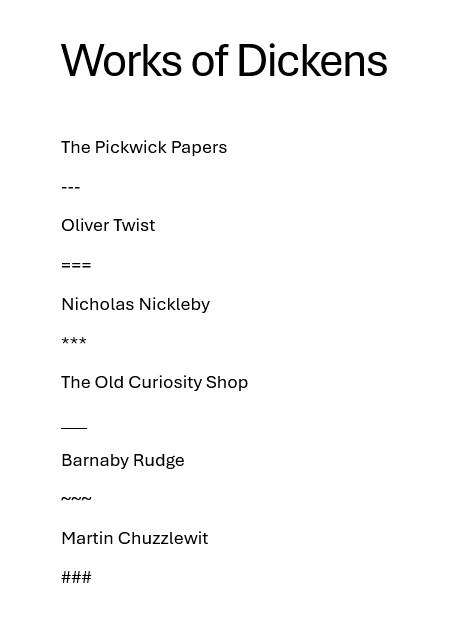
Auto-created border lines are linked directly to the text above them. So all you have to do is type out the following on the line after the text you want to put the border in, hit enter, and it will auto apply them.:
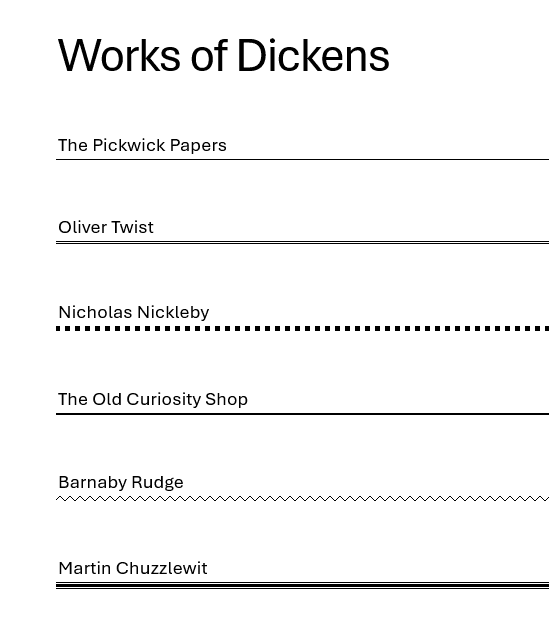
- — (three hyphens) for a single, narrow line.
- === (three equals signs) for a double line.
- *** (three asterisks) for a broken line.
- _ _ _ (three underscores) for a bold line.
- ~~~ (three tilde symbols) for a wavy line.
- ### (three hashtags) for a triple line with a thick center.
So for example, you’d type these characters:
And after hitting enter after the symbols, you would get something like this:
If you need to remove the auto-created border, place your cursor on the text above your border, and then select the border drop-down menu mentioned above and click on “No Border” to remove the line entirely.